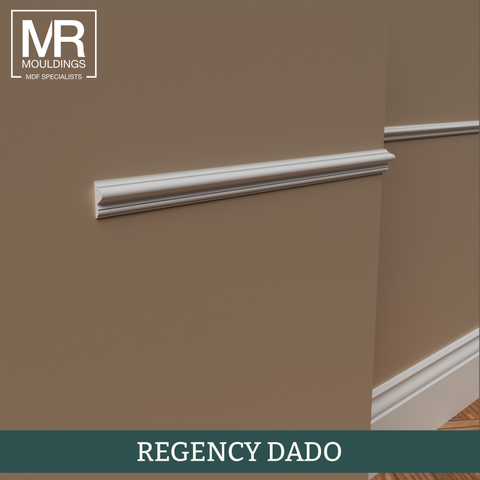
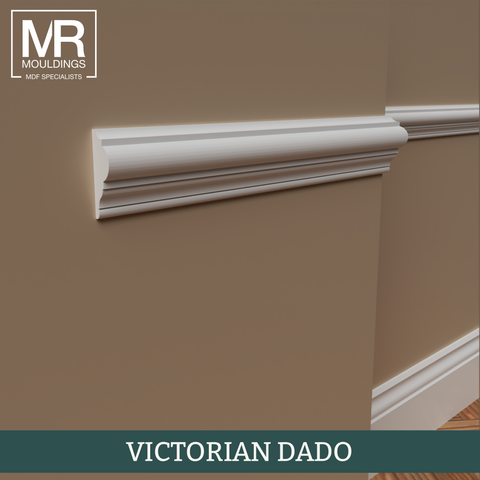
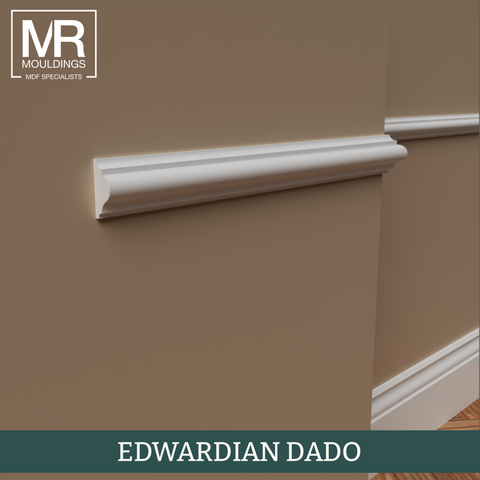
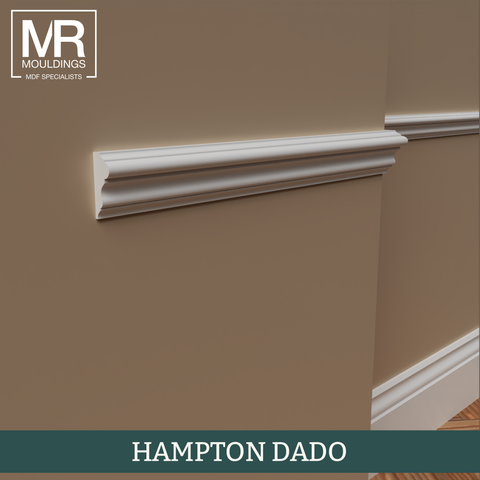
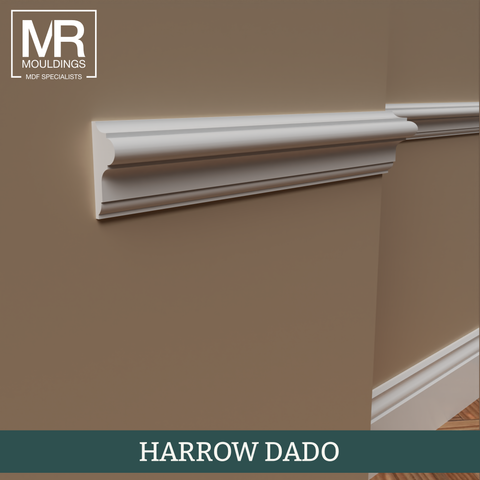
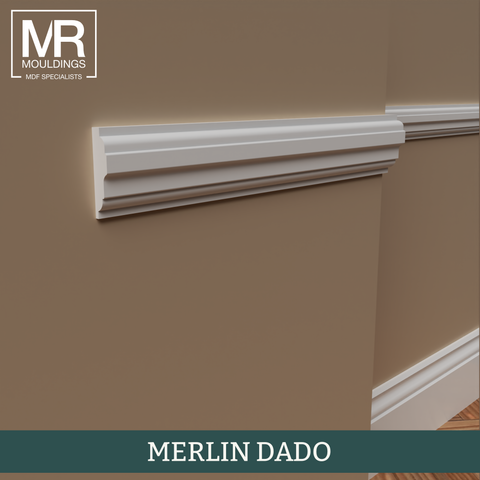
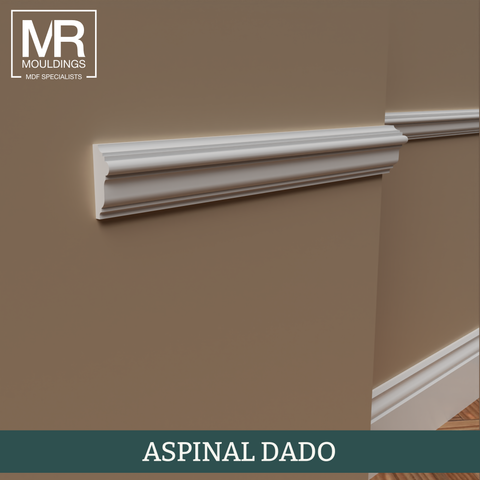
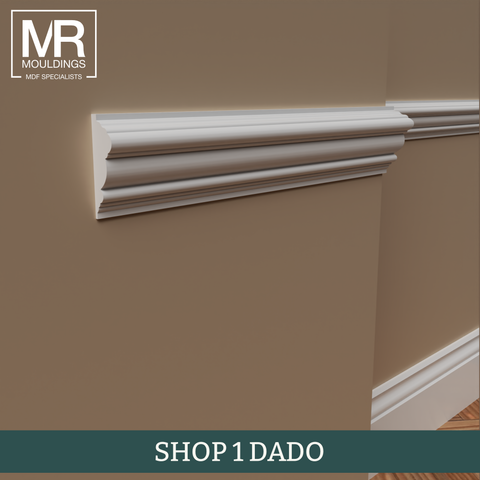
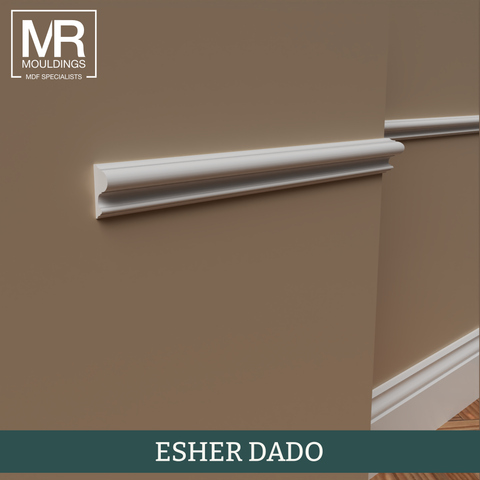
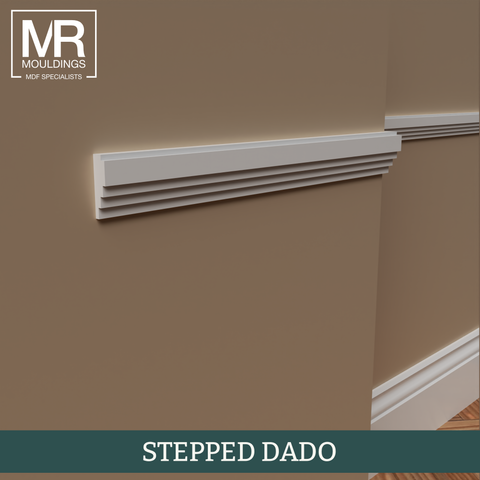
What a Dado Rail Does on the Wall
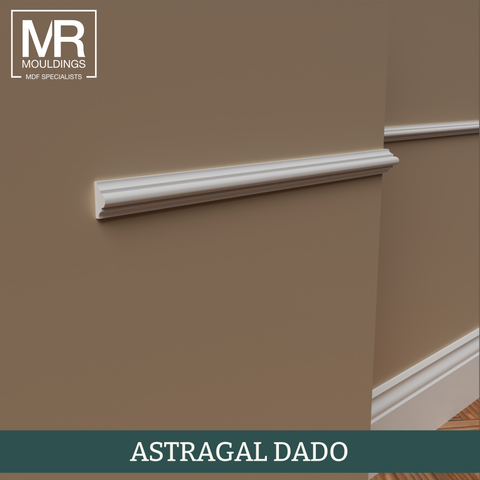
A dado rail is a horizontal moulding fitted roughly a third of the way up the wall, usually between 900mm and 1,100mm from the finished floor. Its original job was protection. In Victorian dining rooms it stopped chair backs marking the plaster, which is why it is still called a chair rail, and that job still matters in hallways, stairwells and busy family rooms.
Most people fit one today for what it does visually. It gives a large blank wall a horizontal line to work to, and a clean edge where a deeper colour or a wallpaper below meets a lighter shade above. Height is the one decision worth taking time over, because a rail set too low makes a room feel squat. Our dado rail height guide sets out the right position for different ceiling heights.
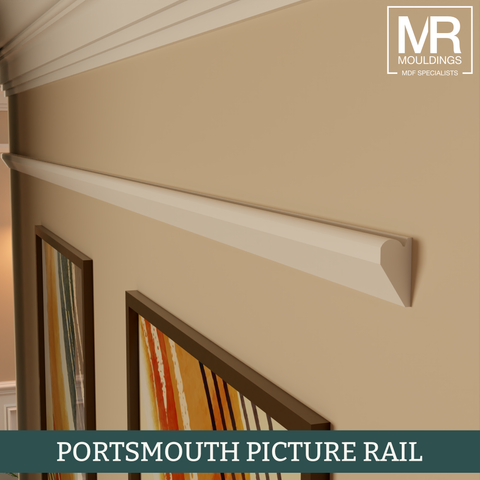
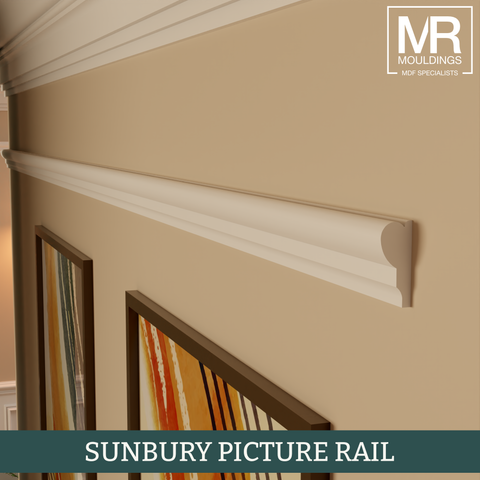
How Picture Rails Work
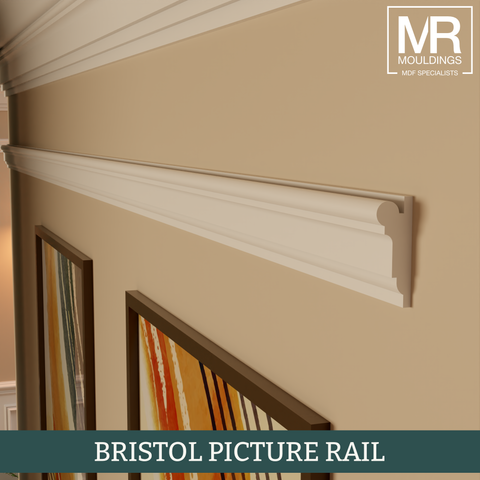
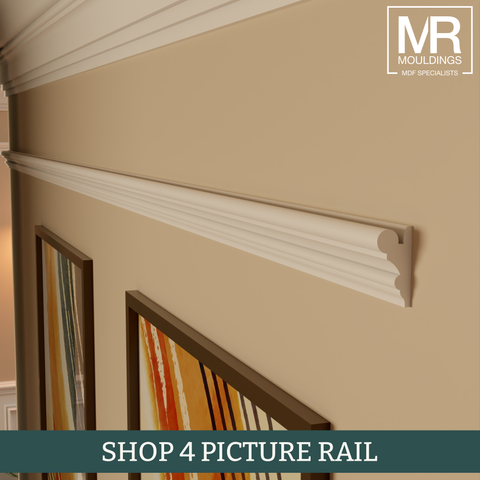
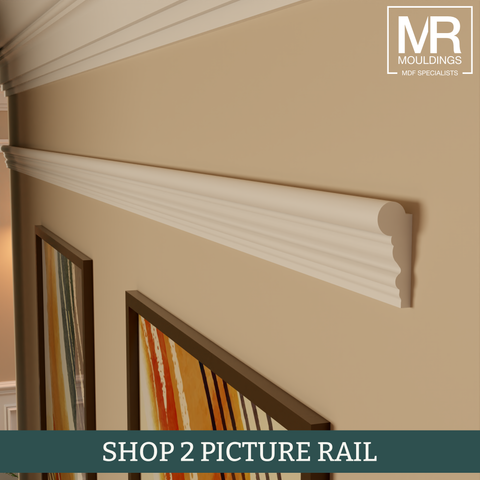
A picture rail sits much higher, typically 300mm to 450mm below the ceiling or just under the cornice. The top edge is shaped to hold a small metal hook, so a wire or cord carries the frame and nothing is fixed into the plaster below it. Rearranging a display becomes a five minute job with no filling, sanding and touching in afterwards, which is the reason the rail was invented and still the reason people fit one.
It also draws a strong horizontal near the top of the room, which lifts the eye and makes a high ceiling feel intentional rather than empty. Bringing the ceiling colour down to meet the rail is a straightforward way to soften a tall period room. For placement by ceiling height, see our picture rail height guide.
Using Both Rails in One Room
Fitting both is the traditional Victorian and Edwardian arrangement, and it splits a wall into three usable bands: the dado below, the main field between the two rails, and the frieze above the picture rail. That gives you somewhere sensible to change colour, hang artwork and add panelling without the wall looking crowded.
A reliable scheme is wall panelling below the dado, one flat colour through the middle, and the ceiling shade carried down to the picture rail. If you are deciding between the two rather than fitting both, our guide on dado rail vs picture rail compares them side by side.
Profiles, Sizes and Finishes Available
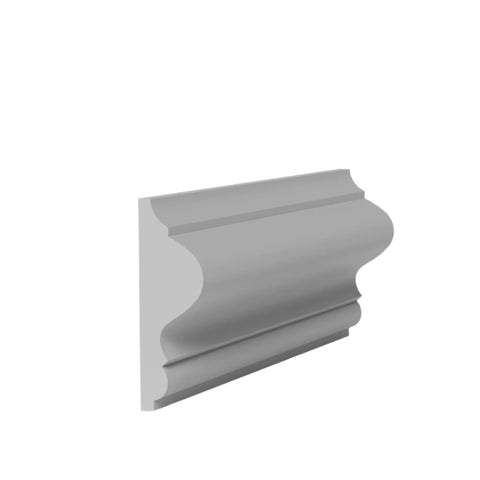
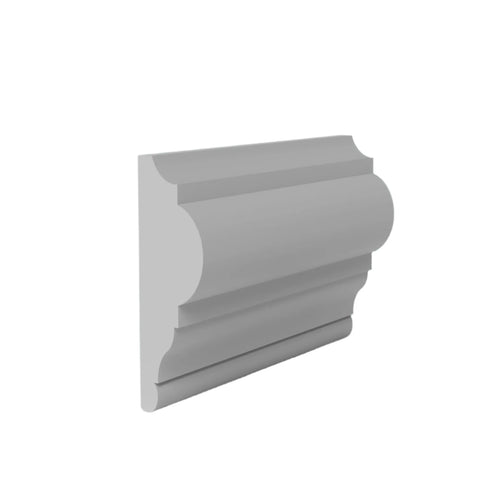
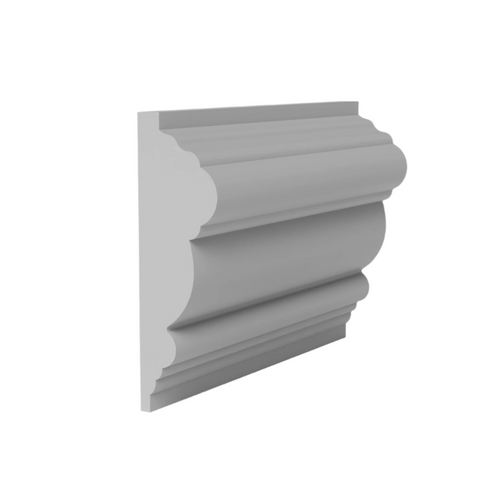
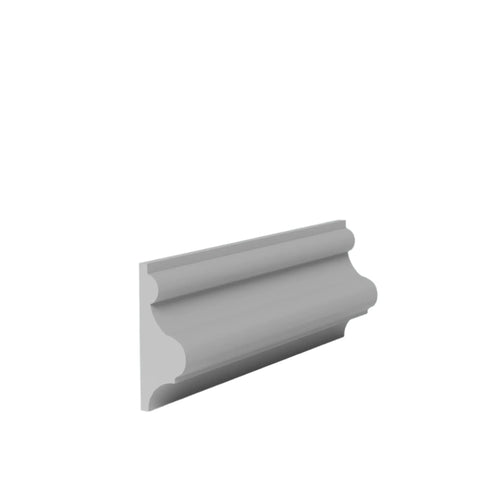
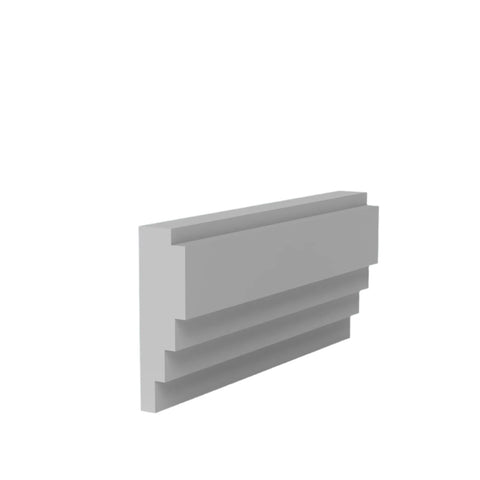
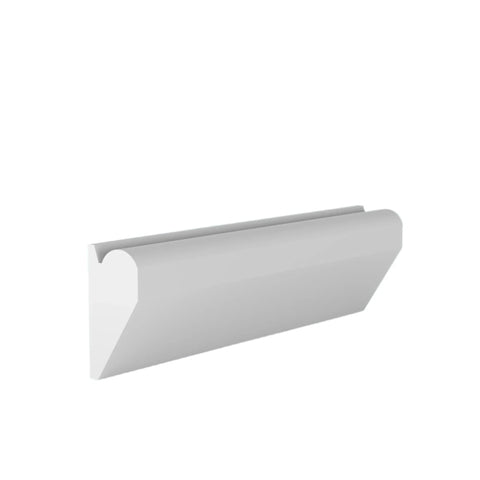
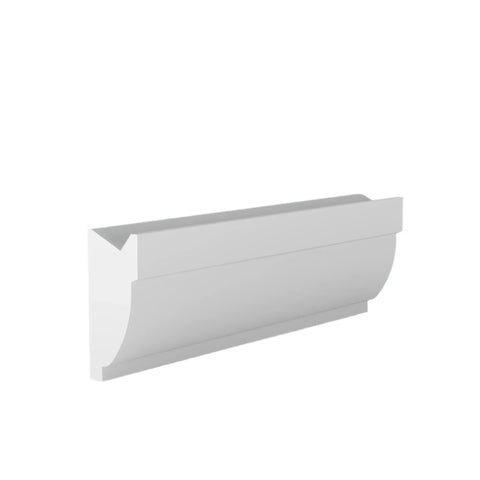
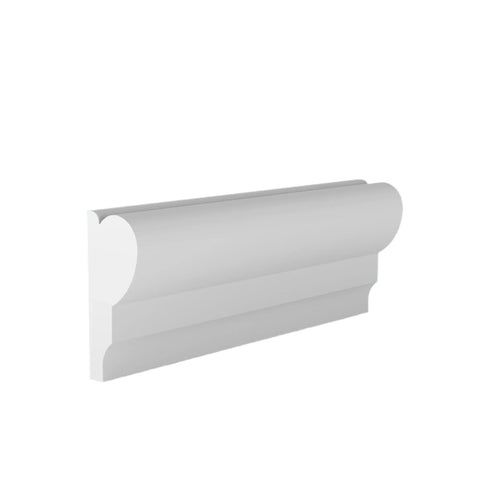
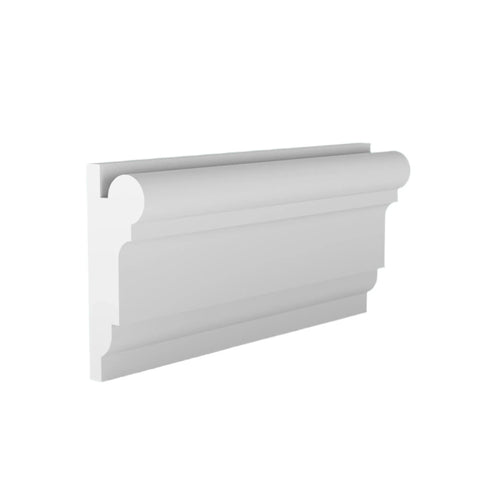
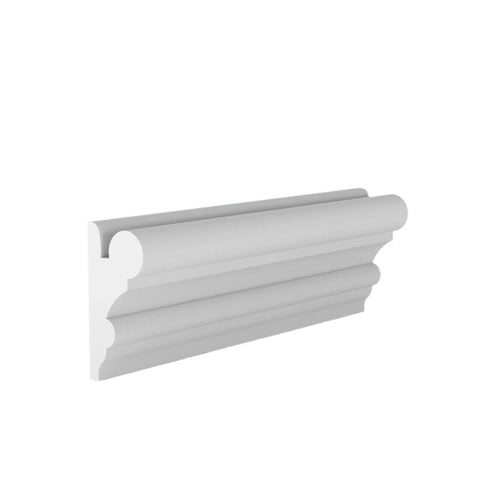
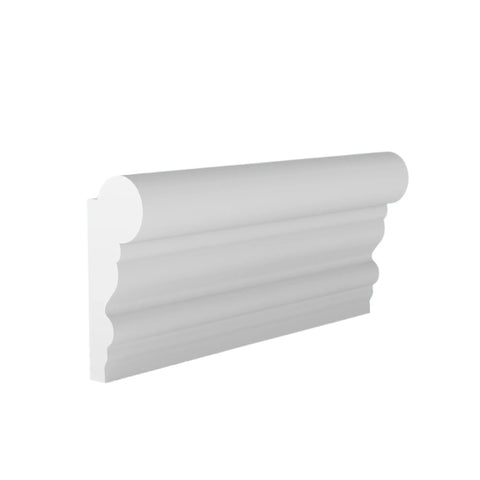
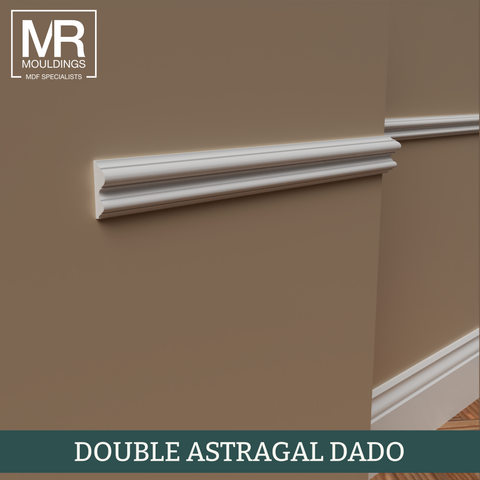
Use the profile filter to narrow the range quickly. Astragal, Double Astragal and Bolection give raised, beaded detail suited to period rooms. Torus, Ogee, Edwardian, Georgian, Regency and Victorian cover the classic curved sections. Chamfered, Bullnose, Ovolo and Stepped keep things clean for modern and minimal schemes.
Sizes vary by profile, with most rails running from 18 x 50mm up to 25 x 70mm, in 2.2m and 4.4m lengths. Longer lengths mean fewer joints along a run, which is worth planning for in a hallway or a large room. Every profile is offered primed or non-primed. Primed arrives with the MDF face already sealed so you can move straight to a top coat, which saves a coat of work on site and makes any installation marks easy to correct.
MDF, Timber, Flexible and Fire Rated Ranges
Standard profiles are machined from FSC certified, moisture resistant MDF. It holds a crisp shape, will not split, twist or bow the way softwood can, contains no knots to bleed through paint, and copes with kitchens, bathrooms and utility rooms. Timber profiles are available where a stained or natural finish is wanted.
Flexible dado and picture rail moulds are supplied straight and formed on site to follow a bay window, a curved wall or a rounded corner. Fire rated profiles use a Euroclass B core for commercial premises, HMOs, care homes and communal areas where building regulations apply. Rebated dado trims sit over the top edge of a panelling run to cover the cut line for a clean finish.
Fitting, Quantities and Matching Existing Mouldings
Mark a level line first and work from it, because eyeballing a long run rarely ends well. Fix through the moulding into masonry using wall plugs at roughly 600mm centres, or into the studs on a timber framed wall, with a bead of grab adhesive behind to take any movement out of the joint. Older walls are seldom flat, so pack out low spots and caulk the top edge before painting. Let the lengths sit flat in the room for a day or two before you start.
For quantities, work out the linear metres of the run and add roughly ten per cent for cuts and waste. Our product pages include a calculator that does this for a dado or picture rail run. If you are matching a rail in a period property or an extension, send a small sample or an offcut to our bespoke moulding matching team and we can machine a replacement to the same section.
 Skip to content