How To Paint Skirting Boards
Painting skirting boards can dramatically enhance the look of your rooms, making them feel fresh and inviting. Despite appearing like a simple task, many people overlook the right techniques and tools needed for a professional finish! In fact, did you know that well-painted skirting can increase your home’s aesthetic appeal and even its value? In this comprehensive guide, we’ll cover everything you need to know about how to paint skirting boards effectively and efficiently. Let’s dive into the world of DIY and transform your home with just a little paint and some elbow grease!
Preparing to Paint Skirting Boards
The key to achieving a flawless finish when painting skirting boards lies in the preparation. Skipping or rushing through this stage is one of the most common mistakes that lead to less-than-perfect results.
Importance of Preparation Before Painting
Before you even think about opening that paint tin, it’s crucial to ensure your skirting boards are properly prepared. This step not only ensures that the paint adheres better but also prolongs the life of the paint job, reducing the need for frequent touch-ups.
Proper preparation involves cleaning the skirting boards to remove dust, dirt, and grease, which can prevent the paint from sticking properly. It also includes sanding the surface to create a smooth, even base, which is essential for achieving a professional-looking finish.
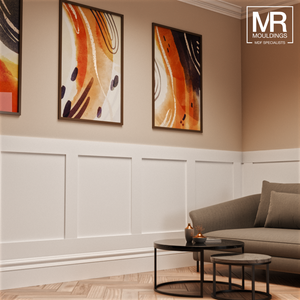
Painting your skirting boards can bring a whole new vibe to any room - especially when partnered with a more modern style of skirting to bring a sense of personality to a room. We want to make sure we get it right though!
Tools and Materials Needed
To get started, you’ll need a few essential tools and materials:
- Paint Brushes: Choose high-quality brushes for a smooth finish. A small, angled brush is ideal for skirting boards as it allows for precision in tight spaces.
- Painter’s Tape: This is crucial for protecting your floors and walls from accidental paint splashes. Apply it along the edges where the skirting meets the floor and wall.
- Primer: Using a primer is important, especially if you’re painting over bare wood or a dark colour. Primer helps the paint adhere better and ensures a more even finish.
- Sandpaper: A medium-grit sandpaper is ideal for smoothing out the surface of the skirting boards. This will help the paint adhere more effectively.
- Cleaning Supplies: A simple solution of soap and water can be used to clean the skirting boards before painting. For tougher grease, a degreaser might be necessary.
- Dust Sheets: Protect your floors and furniture by covering them with dust sheets before you start painting.
How to Clean and Sand Skirting Boards for Optimal Adhesion
Start by cleaning the skirting boards thoroughly. Use a damp cloth to wipe down the trim, ensuring all dust and dirt are removed. For stubborn grime, a mild detergent or degreaser will do the trick. Once the boards are clean and dry, it’s time to sand them.
Sanding is crucial as it roughens the surface, allowing the primer and paint to adhere better. Use medium-grit sandpaper to gently sand the entire surface of the skirting boards. Focus on smoothing out any rough spots or imperfections. After sanding, wipe the boards down with a damp cloth to remove any dust.
Choosing the Right Paint
Selecting the right paint for your skirting boards is just as important as the preparation. The paint you choose will affect not only the appearance but also the durability of the finish.
Types of Paint Suitable for Skirting Boards
When it comes to painting skirting boards, you have several options in terms of paint finish:
- Gloss: Gloss paint is a popular choice for skirting boards due to its durability and high-shine finish. It’s easy to clean, making it ideal for areas that see a lot of foot traffic. However, gloss paint can highlight imperfections, so thorough preparation is key.
- Satin: Satin paint offers a subtle sheen that’s less shiny than gloss but still provides a durable and washable surface. It’s a good middle-ground option, offering both aesthetic appeal and practicality.
- Eggshell: Eggshell paint has a low sheen and provides a smooth, elegant finish. It’s less durable than gloss or satin but is ideal for creating a more understated look. It’s also easier to touch up if needed.
Factors to Consider When Selecting Paint
When choosing paint for skirting boards, consider the following factors:
- Durability: Skirting boards are prone to scuffs and knocks, especially in high-traffic areas. A durable paint like gloss or satin is often the best choice for these areas.
- Finish: The finish of the paint will affect the overall look of the room. Gloss finishes are more reflective, making spaces feel brighter, while matte finishes offer a more subtle, refined look.
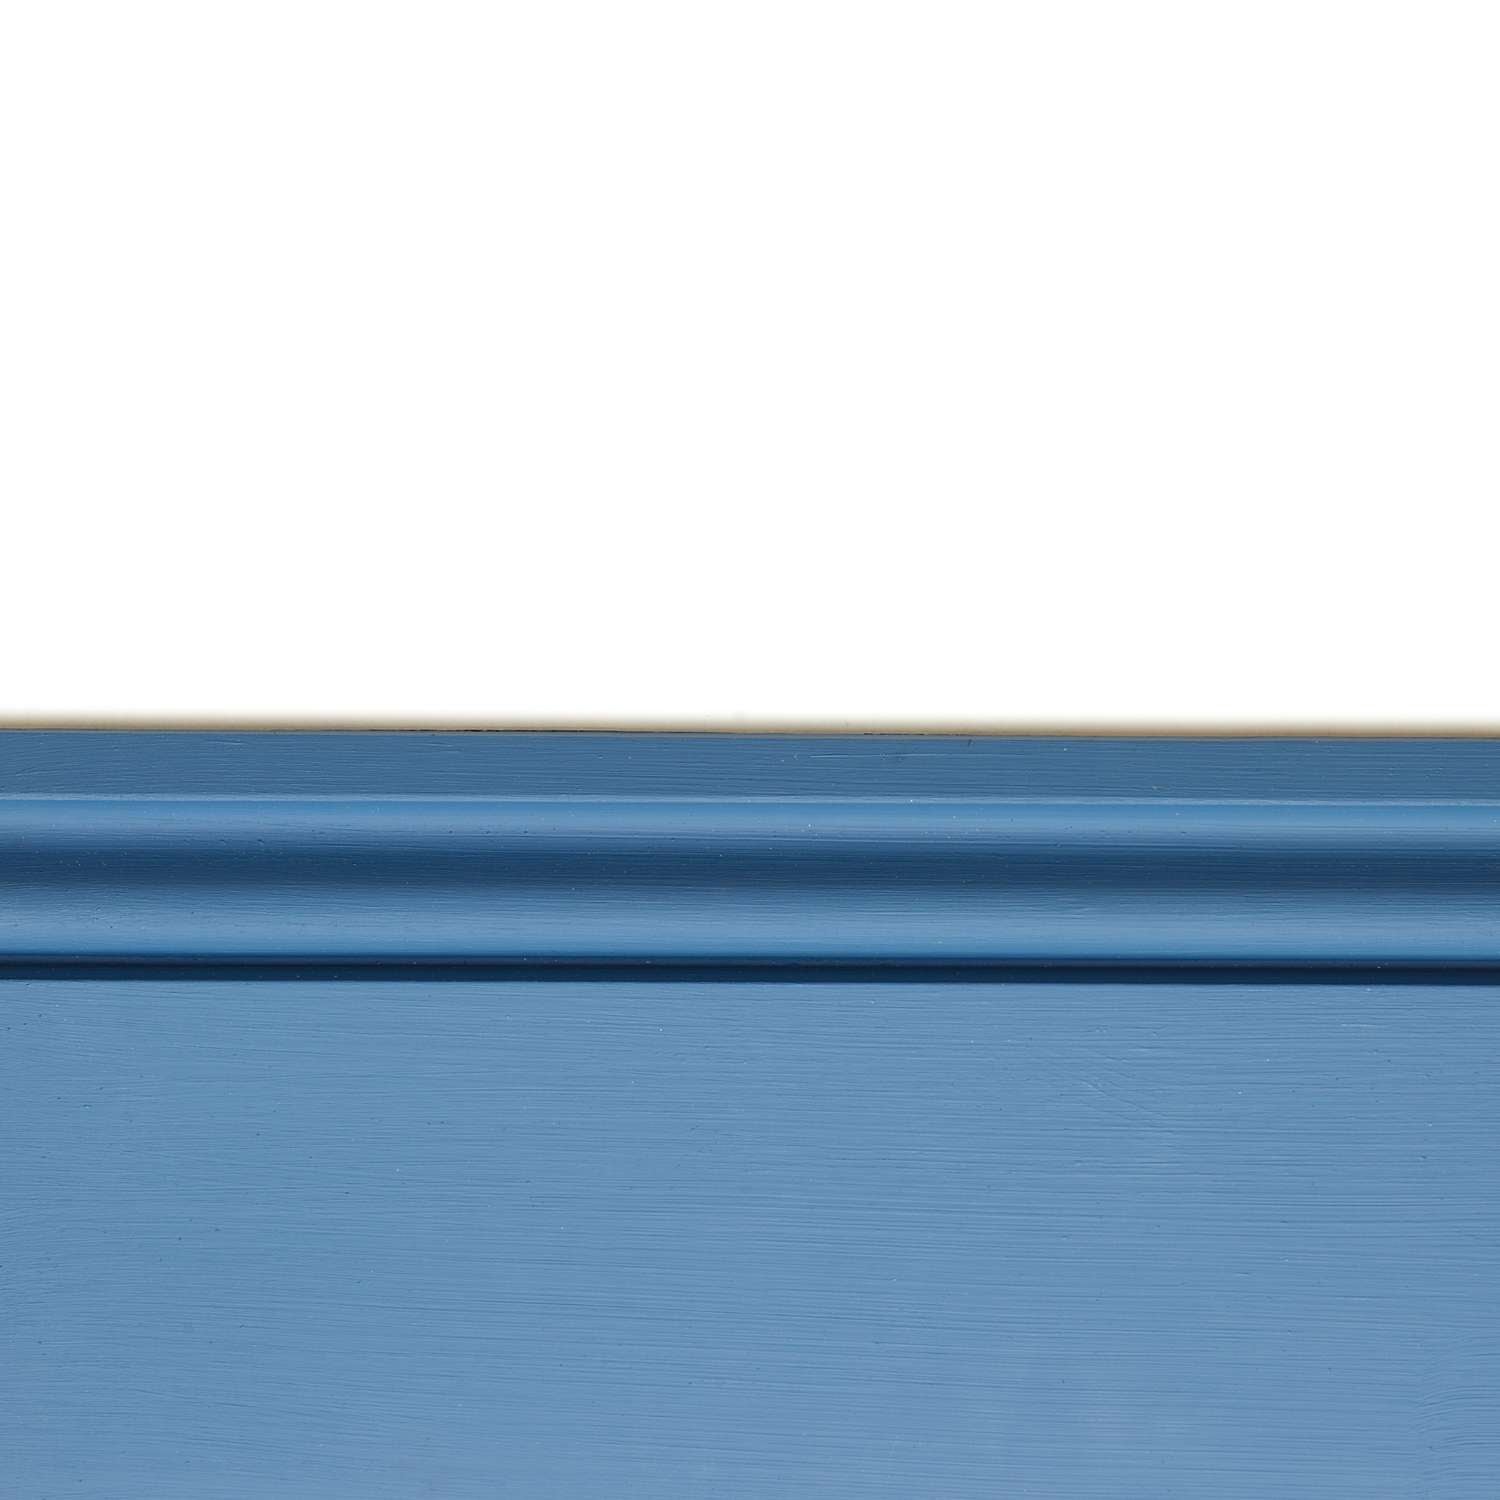
- Colour: While white is the traditional choice for skirting boards, don’t be afraid to experiment with colour. Darker skirting boards can add contrast and drama, while matching the skirting to the wall colour can create a seamless look.
Eco-Friendly Paint Options Available in the UK
For those looking to minimise their environmental impact, eco-friendly paint options are readily available in the UK. Brands like Farrow & Ball and Little Greene offer low-VOC (Volatile Organic Compounds) paints that are better for both your health and the environment. These paints are available in a range of finishes and colours, ensuring you don’t have to compromise on style or quality.
Step-by-Step Painting Process
Now that your skirting boards are prepped and you’ve chosen the perfect paint, it’s time to get painting! Follow these steps to achieve a professional finish.
Detailed Steps on Painting Skirting Boards
- Apply Painter’s Tape: Start by applying painter’s tape along the edges of the skirting boards where they meet the floor and walls. This will protect these areas from paint splatters and ensure a clean edge.
- Prime the Skirting Boards: If you’re painting over bare wood or a dark colour, start by applying a coat of primer. This will help the paint adhere better and provide a uniform base. Allow the primer to dry completely before moving on to the next step.
- First Coat of Paint: Using a small, angled brush, apply the first coat of paint. Start at the top of the skirting board and work your way down. Use long, smooth strokes to avoid drips and ensure an even coverage. Be careful not to overload your brush with paint.
- Let It Dry: Allow the first coat of paint to dry completely. Follow the manufacturer’s recommended drying time, which is usually around 6-8 hours.
- Second Coat of Paint: Once the first coat is dry, apply a second coat of paint. This will provide a richer colour and ensure a more durable finish. Again, use smooth, even strokes and be mindful of drips.
- Remove the Tape: After the final coat is applied and still slightly wet, carefully remove the painter’s tape. This will prevent the paint from peeling away with the tape and ensure a clean edge.
Tips for Applying Paint Evenly and Avoiding Drips
To avoid drips, don’t overload your brush with paint. It’s better to apply multiple thin coats than one thick coat. Use long, smooth strokes to apply the paint evenly, and check your work as you go to catch any drips before they dry.
Recommended Drying Times and What to Do In Between Coats
Drying times vary depending on the type of paint used and the room’s temperature and humidity. Typically, you should wait at least 6-8 hours between coats. During this time, clean your brushes and check the surface for any areas that may need a light sanding or touch-up before applying the next coat.
Common Mistakes to Avoid
Painting skirting boards might seem straightforward, but there are a few common pitfalls to watch out for.
Typical Pitfalls Homeowners Face When Painting Skirting Boards
One common mistake is rushing the preparation stage. Failing to clean and sand the skirting boards properly can result in poor paint adhesion and an uneven finish. Another mistake is applying too much paint at once, which can lead to drips and a messy appearance.
How to Avoid Paint Bleed and Brush Marks
To avoid paint bleed, ensure the painter’s tape is firmly pressed down along the edges. Remove the tape while the paint is still slightly wet to prevent peeling. Brush marks can be minimised by using high-quality brushes and applying the paint in long, even strokes.
Importance of Patience and Taking Your Time During the Process
Patience is key to achieving a professional finish. Take your time with each step, from preparation to painting, and allow ample drying time between coats. Rushing the process can lead to mistakes that are difficult to fix later on.
Touching Up and Maintenance
Once your skirting boards are beautifully painted, regular maintenance will keep them looking fresh for years to come.
How to Maintain Freshness in Your Skirting Boards Over Time
Dust and clean your skirting boards regularly to prevent dirt build-up. Avoid using harsh chemicals that could damage the paint. A damp cloth and mild detergent should be sufficient for most cleaning tasks.
When to Touch Up Painted Skirting and How to Do It Seamlessly
Over time, you may notice small chips or scuffs in the paint. Touch these up with a small brush and the original paint. For the best results, lightly sand the area before applying the paint and blend it in with the surrounding surface.
Tips for Cleaning Skirting Boards Without Damaging the Paint
To clean skirting boards without damaging the paint, use a soft cloth or sponge and a mild detergent. Avoid scrubbing too hard, as this can wear away the paint. For stubborn marks, a magic eraser can be effective without being too abrasive.
Conclusion
In conclusion, painting your skirting boards is not just a DIY task; it’s a way to elevate your home’s style while expressing your creativity! With the right preparation, choice of paint, and careful execution, your skirting boards can turn from dull to dazzling. Remember to take your time, learn from your mistakes, and don’t hesitate to add your personal touch. Ready to get started on your painting project? Grab your supplies, and let’s transform your space together!


