Architrave Installation Guide
Installing an architrave might seem daunting, but with the right tools and guidance, anyone can achieve a professional finish. Whether you're renovating your home or working on a new project, mastering architrave installation is a skill that will elevate the overall appearance of your interior spaces. In this comprehensive guide, we'll walk you through the entire process—from selecting the right materials to making precise cuts and ensuring a seamless fit. By the end, you'll have the confidence to tackle your own installation with ease!
What is an Architrave?
An architrave is a decorative moulding that frames the perimeter of doors, windows, and other openings within a home. Its primary purpose is to cover the joint between the wall and the frame, providing a clean, finished look. Beyond this functional role, architraves add a layer of detail that enhances the overall aesthetic of a room, making them an integral part of interior design.
Architectural Significance and Historical Context
The concept of the architrave dates back to classical architecture, where it served both a structural and decorative function. In ancient Greece and Rome, architraves were part of the entablature, the horizontal structure supported by columns. These early versions were often elaborately carved from stone, reflecting the grandeur of the buildings they adorned.
Over time, the use of architraves evolved from grand temples to everyday homes, where they became a decorative feature rather than a structural necessity. Today, architraves are found in virtually every type of building, from period properties to modern homes, adding a touch of elegance and refinement to interiors.
Modern Applications in Home Design
In contemporary homes, architraves are primarily used around doors and windows to conceal the gaps between the wall and the frame. They come in a variety of styles, from simple, clean lines to more ornate designs, allowing homeowners to choose a look that complements their overall interior décor. Whether you're aiming for a traditional or modern aesthetic, the right architrave can significantly enhance the appearance of your space.
Tools and Materials Needed
Before you begin installing an architrave, it’s crucial to gather the necessary tools and materials. Proper preparation ensures a smooth installation process and a professional finish.
Essential Tools
- Saw: A mitre saw is ideal for cutting architrave at precise angles, especially for corners. A hand saw can also be used, though it requires more manual effort.
- Measuring Tape: Accurate measurements are essential for a perfect fit. Ensure your measuring tape is reliable and easy to read.
- Spirit Level: This tool helps ensure your architrave is level, which is crucial for achieving a professional appearance.
- Pencil and Ruler: For marking measurements and cutting lines on the architrave.
- Mitre Box: If you’re using a hand saw, a mitre box will help you make precise angled cuts.
- Hammer and Nails: To secure the architrave in place. Alternatively, a nail gun can speed up the process.
- Adhesive: A strong wood adhesive helps hold the architrave in place before nailing.
- Filler: To fill any gaps or nail holes for a smooth finish.
Selecting the Right Type of Architrave Material
- Wood: Offers a traditional, high-quality finish but can be more expensive. Ideal for period properties or where a premium finish is desired.
- MDF (Medium-Density Fibreboard): A cost-effective alternative to wood, MDF is easy to work with and provides a smooth surface for painting.
- PVC: Ideal for areas prone to moisture, such as bathrooms, as it resists warping and swelling.
Additional Materials
- Adhesive: Wood adhesive helps to secure the architrave before nailing.
- Nails or Screws: Depending on the material and preference, nails or screws will be used to secure the architrave.
- Filler: For filling in nail holes or small gaps.
- Paint or Stain: To finish the architrave after installation.
Preparing for Installation
Proper preparation is key to a successful architrave installation. Taking the time to measure, mark, and prepare your materials will save you time and effort in the long run.
Measuring and Marking: Ensuring Accuracy
Begin by measuring the area where the architrave will be installed. Use a measuring tape to determine the length of the sides, top, and any additional sections required. Mark these measurements on the architrave with a pencil, ensuring you account for any mitre cuts needed for corners.
When marking, it’s crucial to measure twice to avoid mistakes. Accurate measurements will ensure that your architrave fits perfectly, reducing the need for adjustments during installation.
Cutting the Architrave: Tips for Clean, Precise Cuts
Using a mitre saw or hand saw, cut the architrave to the required lengths. For corners, a 45-degree angle cut is typically used to create a neat join. If using a hand saw, a mitre box will help guide your cuts and ensure they are precise.
When cutting, work slowly and steadily to avoid splintering the material. If you’re using MDF, be especially careful, as it can chip easily. After cutting, dry-fit the pieces around the door or window frame to ensure they align correctly.
Preparing Walls and Door Frames for Installation
Before installing the architrave, ensure that the walls and door frames are clean and free of any debris or old adhesive. If the walls are uneven, consider using a filler to smooth them out, as this will help the architrave sit flush against the surface.
Step-by-Step Architrave Installation
With your tools and materials ready, and your surfaces prepared, it’s time to install the architrave. Follow these steps for a professional finish.
Applying Adhesive and Positioning the Architrave
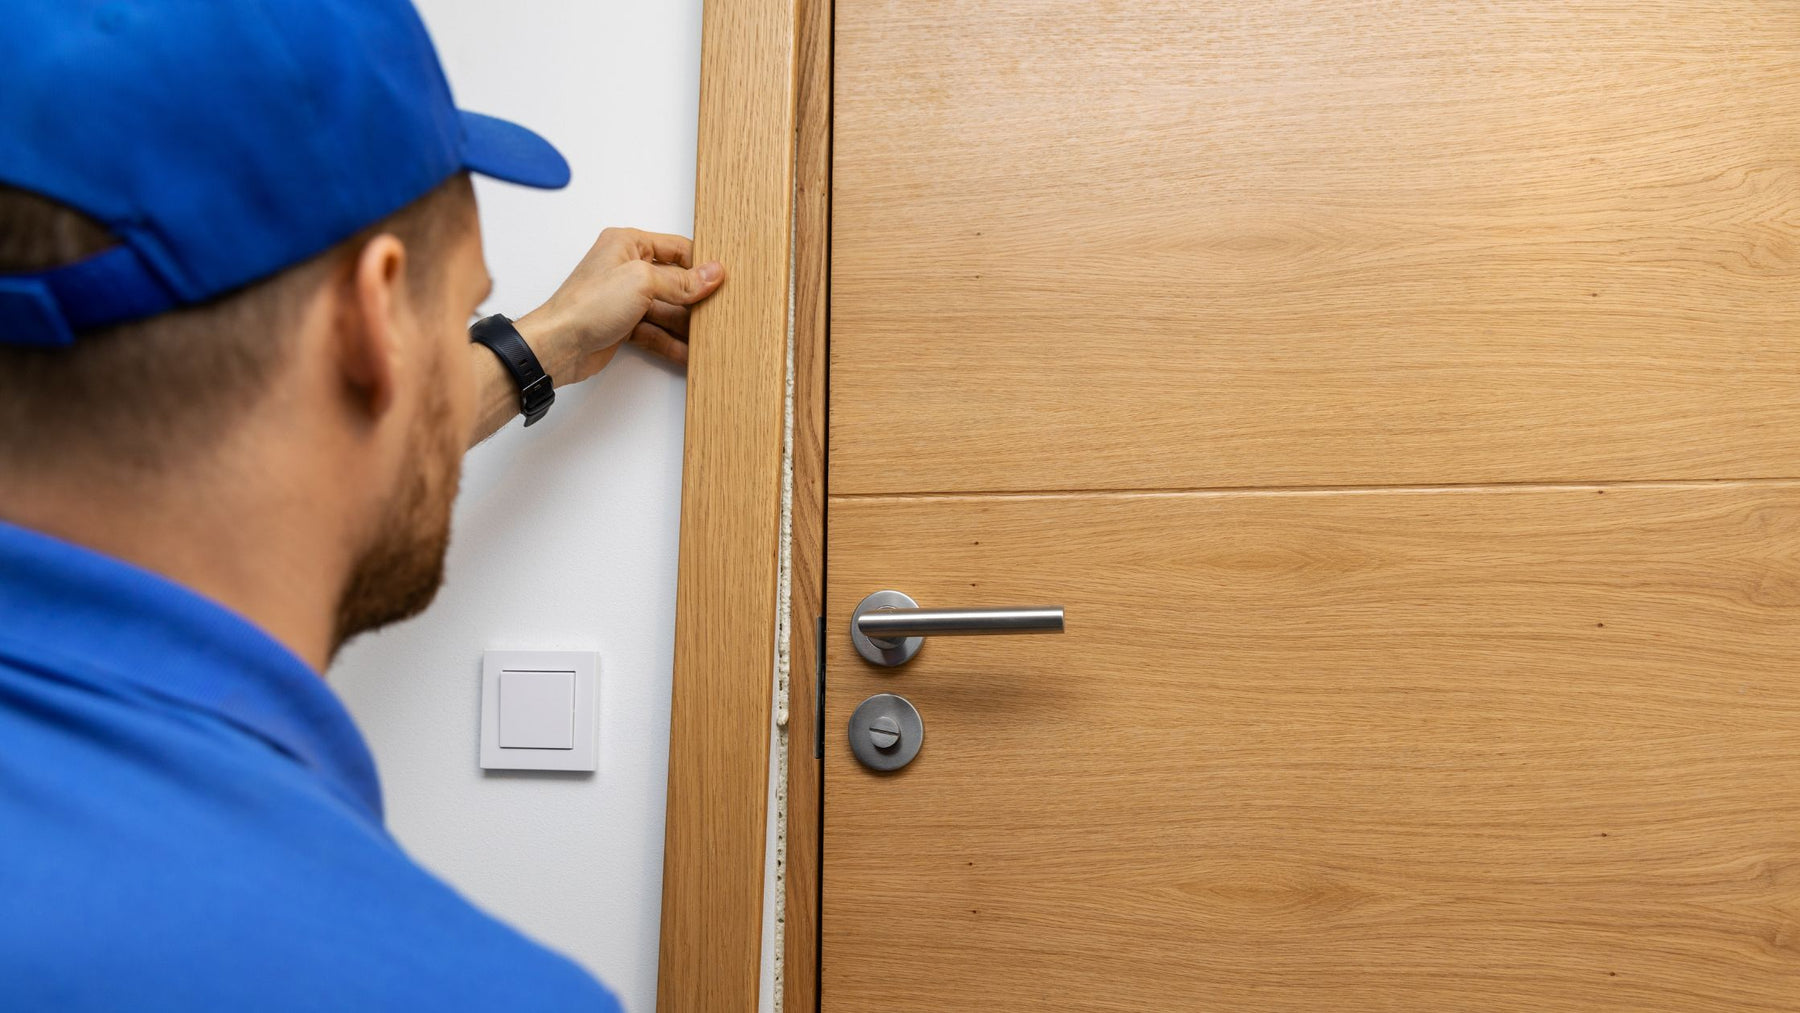
Begin by applying a thin bead of adhesive along the back of the architrave. This will help hold the architrave in place while you nail it. Carefully position the architrave around the door or window frame, pressing it firmly against the wall.
Start with the top piece, then move on to the sides. Ensure each piece is aligned correctly before pressing it into place. If you’re working alone, it might be helpful to use a small block of wood or spacer to keep the architrave in position while you secure it.
Nailing or Screwing in Place: Methods and Tips
Once the architrave is positioned, use a hammer and nails (or a nail gun) to secure it. Place nails at regular intervals along the length of the architrave, typically every 30-40 cm, and at each end. For a more secure fit, angle the nails slightly inward.
If you’re using screws, pre-drill small pilot holes to prevent the wood from splitting. After securing the architrave, check that it’s level using a spirit level, and make any necessary adjustments.
Checking for Alignment and Making Adjustments
After the architrave is secured, step back and check for alignment. Ensure that the corners meet neatly and that the architrave is flush against the wall. If any adjustments are needed, carefully tap the architrave into place with a hammer or make slight cuts with a saw.
Architrave Finishing Touches
To achieve a polished, professional finish, pay attention to the details.
Filling Gaps and Nail Holes: Materials and Techniques
Use a filler to fill in any gaps between the wall and the architrave, as well as any nail holes. Apply the filler with a putty knife, smoothing it out for a seamless look. Once the filler is dry, sand it down until it’s smooth and level with the rest of the architrave.
Sanding and Smoothing the Surface
After filling gaps and holes, sand the entire architrave to ensure a smooth surface for painting or staining. Use fine-grit sandpaper to remove any rough spots or imperfections, and wipe down the architrave with a damp cloth to remove dust.
Painting or Staining: Achieving a Flawless Finish
Finally, apply paint or stain to the architrave to match the rest of your interior. Use a primer if necessary, especially if you’re painting over MDF or bare wood. Apply the paint or stain in thin, even coats, allowing each coat to dry thoroughly before applying the next.
For the best results, use a high-quality brush and take your time to ensure an even finish. If painting, consider using a satin or gloss finish, which is more durable and easier to clean.
Common Mistakes
Even with the best intentions, it’s easy to make mistakes during architrave installation. Here are some common pitfalls to watch out for.
Incorrect Measurements: Tips for Accuracy
One of the most common mistakes is incorrect measurements, leading to ill-fitting architraves. To avoid this, always measure twice before cutting, and double-check your marks on the architrave.
Using the Wrong Tools: How to Choose the Right Ones
Using inappropriate tools can result in poor cuts or a less secure installation. Invest in high-quality tools, such as a mitre saw and spirit level, to ensure a professional finish.
Overlooking Finishing Details: Why They Matter
Neglecting the finishing touches, such as filling gaps and sanding, can leave your architrave looking unfinished. Taking the time to complete these steps will result in a much more polished appearance.
Maintenance for Your Architraves
Once installed, your architraves will require some maintenance to keep them looking their best.
Regular Cleaning and Upkeep
Dust your architraves regularly to prevent dirt build-up. Wipe them down with a damp cloth as needed, and avoid using harsh chemicals that could damage the finish.
Repairing Minor Damages
Over time, architraves may develop small chips or cracks. These can usually be repaired with wood filler or putty. Apply the filler, sand it smooth, and touch up with paint or stain.
Long-Term Care Tips to Maintain Appearance
To prolong the life of your architraves, consider applying a protective finish, such as varnish, particularly in high-traffic areas. This will help protect them from scuffs, scratches, and moisture damage.
Installing an architrave might seem like a complex task, but with the right approach and attention to detail, you can achieve a professional finish that enhances the beauty of any room. Remember, preparation is key—take the time to measure, cut, and align carefully, and your efforts will pay off in the final result. Ready to give it a try? Gather your tools and get started today—your home’s transformation is just a few steps away!


