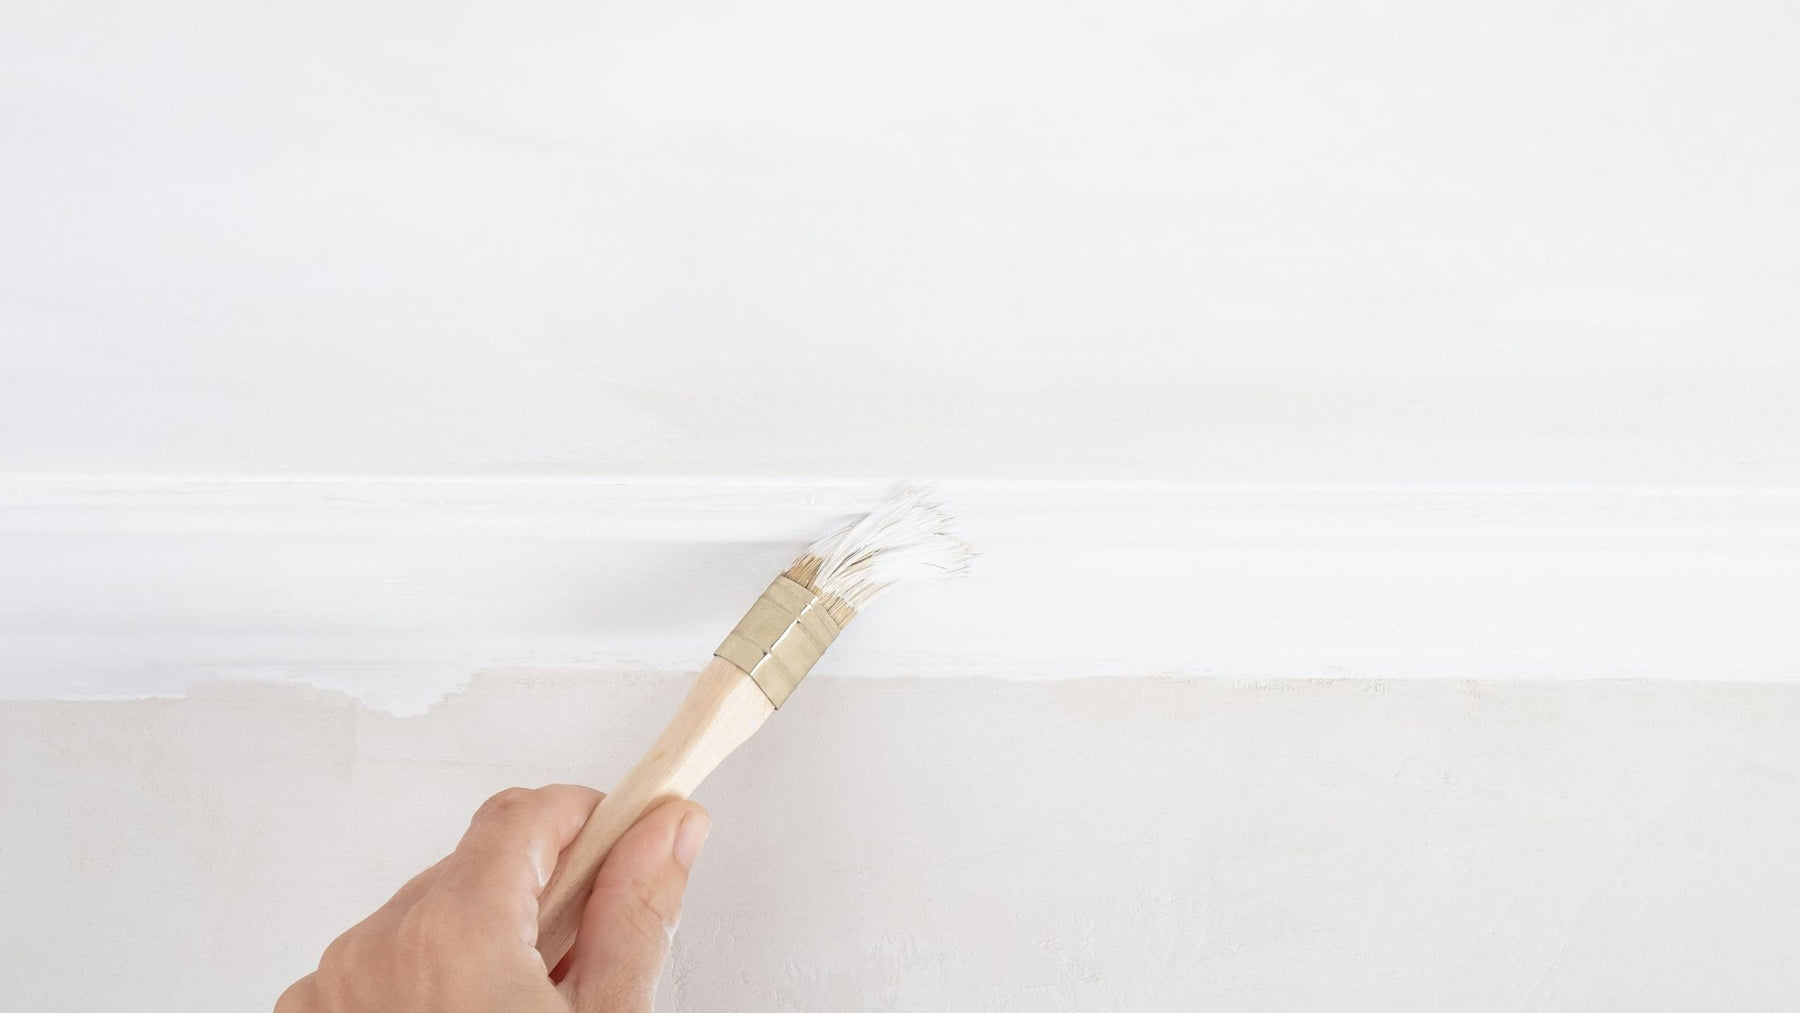
Should You Paint Skirting Before or After Installing?
Many of us may overlook our home’s humble skirting boards, but these pivotal installations add the perfect finish to any room. By definition, skirting boards are wooden boards that cover the lower part of an interior wall. They are more than just decorative trims – they protect the walls from wear and tear, cover unsightly gaps, and offer an aesthetic balance to the space.
Consider this: in a study conducted in 2021, it was found that house renovations that had recently had the interior re-painted were overall more content with their new home! It's amazing how far along a bit of paint goes around the house!
Different types of skirting boards – from Ogee to Torus, Chamfered to Bullnose – cater to a variety of interior styles. There are alternative ideas too, such as ‘soldier stacking’ that offer a modern, streamlined look. Irrespective of the kind of skirting you choose, painting them can elevate their appeal and contribute significantly to your room makeover.
The Importance of Skirting Board Preparation
Good prep work is crucial when considering painting skirting boards. This includes cleaning, sanding, and priming your skirting for a flawless finish. Neglecting any of these steps can lead to painting issues such as peeling, blotching, and poor adhesion.
It’s also essential to caulk along the tops of skirting boards to close any gaps between the wall and the interior skirting. Once the caulk is dry, this will need to be painted over to create a seamless look. Internal and external corners might require a touch of filler, which will also need painting for a smooth, uniform finish.
A detailed checklist of tools needed for preparing skirting boards might include sandpaper, primer, caulk, a good quality brush or roller, and, of course, your choice of paint. Investing a bit of time and effort into preparation can make all the difference between a professional-looking finish and a DIY disaster!
Painting Skirting Boards – An Overview
Choosing the right paint colour can be a daunting task. It's not just about picking your favourite shade; considerations like room size, light sources, and the overall design aesthetic come into play. Finishes too make a significant difference. Do you want matt paint for a subtle look, satin paint for a soft sheen, or gloss paint for a shiny, highly reflective finish?
The process of painting skirting boards traditionally involves applying a primer, followed by at least two coats of paint, ensuring drying time between each layer. Some techniques to acquire a neat finish are 'cutting-in,' where you paint the edges first, and 'painting from top to bottom' to avoid drips and streaks.
Should I Paint Skirting Boards Before Fitting?
While painting skirting boards after fitting is the conventional route, painting them beforehand has its benefits. It can avoid paint getting on floors or walls and saves a lot of time. Additionally, you can apply more paint on a horizontal surface, making the process easier and more effective. Painting both sides before fitting also provides added protection against damp, various forms of rot, and insect damage.
However, there are some caveats too. Painting before fitting doesn't allow for fillers and caulk to be painted over, which might be visible after fitting. Any joins in long lengths will need careful attention to ensure a seamless finish.
Many experts recommend a combination approach – apply a primer and the first coat of paint before fitting, then fill and caulk as needed and paint the final coat. This approach ensures seamless coverage and makes any touch-ups after fitting much less noticeable.
Practical Guide to Painting Skirting Boards Before Fitting
Here’s a step-by-step guide: Clean the skirting boards thoroughly first, then sand smoothly. Apply a primer evenly and let it dry. Go ahead with the first coat of paint and leave it to dry before fitting. Remember to paint both sides before fitting to protect against moisture and potential damage.
After fitting, use a good quality tape for painting, and fill in any gaps with caulk. Then apply the final layer of paint. Ensure you use appropriate safety measures throughout and have an adequate cleanup plan in place.
Common Challenges and How to Address Them
Common problems when painting skirting boards can include drips, streaks, and flaking. These can usually be remedied easily. For instance, using a smaller brush can give you more control and avoid accidental drips. Sanding between coats can prevent flaking and peeling. Be prepared to use a bit of filler on internal and external corners to achieve a perfect finish, as these areas often need a bit more attention.
Another tip is to always give skirting boards a final coat of paint after they’re fitted. This will help cover any marks or scratches caused during installation and ensure a perfect finish.
Conclusion and Extra Tips
Hopefully, you’re now feeling confident about tackling your skirting board project. It’s worth reiterating here: good preparation is absolutely key! If you’re painting skirting boards before fitting, remember to paint both sides to provide extra protection against moisture and insects. Be prepared to caulk and fill gaps as needed after fitting, and always apply a final coat of paint to seal the job.
And, if the task still seems too daunting, there’s no harm in contemplating professional help. With boldness and creativity, your skirting boards can become a standout feature in your room, rather than just an overlooked necessity. So, whether you fancy a vibrant pop of colour or a sophisticated understated look, take the leap and transform your home with freshly painted, beautifully fitted skirting boards.


